
January 20, 2016
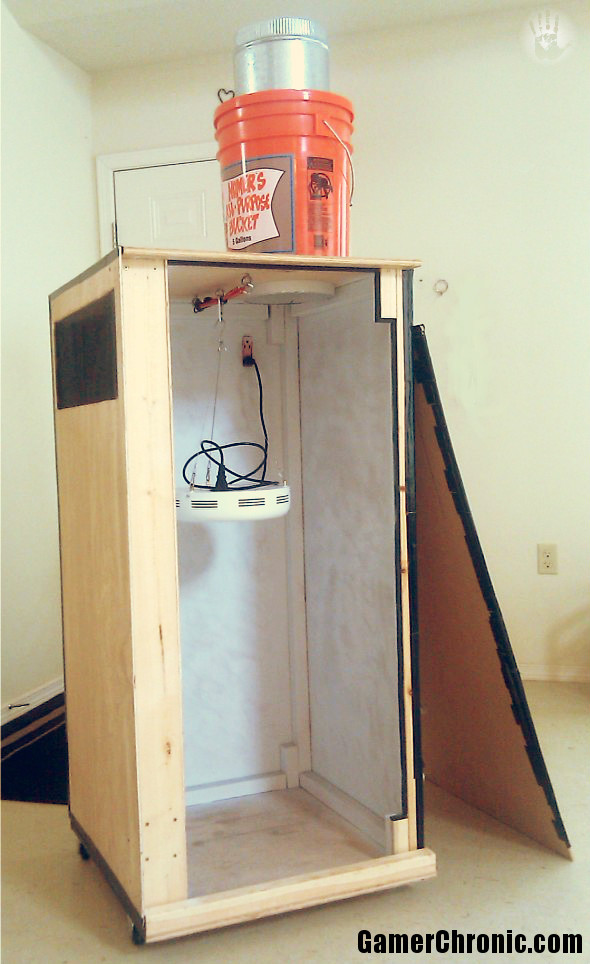
DIY – LED Grow Box w/ Carbon Filter| Build Instructions
I’ve barely finished this Grow Box and already plan to build another.
The Grow Box here isn’t perfect but it did get the job done.
On top of that, the Cannabis that came out of this Grow Box got me superiority faded.
VIEW: Northern Lights Grow Pics from this Grow Box.
Hopefully this Grow Box build gives you some ideas puff on and adapt in building your own personal Grow Box.
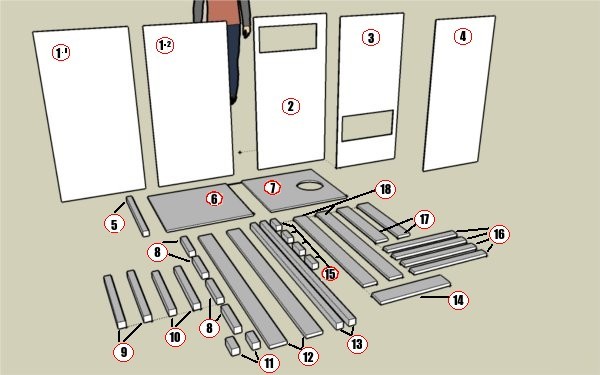
- Box Frame [Steps 1- 6]
- Light Trap [Step 7- 8 ]
- Carbon Filter [Step 9]
- Intake Siding [Step 10]
- Power [Step 11]
- Final Siding [ Step 12]
- Seal Box [Step 13]
- Add Wheels [Steps 14]
- Finish and Insert Door [Step 15]
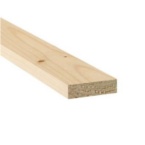
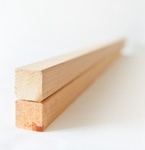
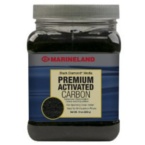
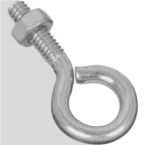
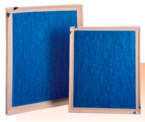
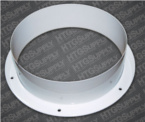
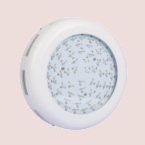
8″ Inline Fan, 8″ Tent Flange, 1.5″ Rubber Caster Wheels, 180 Watt LED Lamp, Eye Bolts, Lg. Roll Gorilla Tape, 1.5″ All Purpose Screws, Spray Paint, Mesh Screening, Silicone Adhesive, Wire Brad Nails, Wood Glue, 5 gal. Bucket w/ Lid, Weather Stripping, Heavy Duty (3x outlet) Extension Cord, 22oz – 40oz of Activated Carbon, (Panel) Air Filter, 2ft x4ft Plywood Panel, 2’x4′ MDF Board, 2x2x8 Studs, 1x4x8 Boards, 2ft x4ft Plywood Panel
VIEW: LED Box Materials / Tools List (PDF Spreadsheet)! ^TOP


Tools
- Dremel w/ 678-01 tool OR Jigsaw,
- Measuring Tape,
- (Electric) Screwdriver,
- Pencil/Marker,
- Trigger Clamps
Cost
The HIGHEST estimated cost for this grow box is $300 or below. It will take you a weekend to build and does not require any previous carpentry experience. Alternatively, if you are interested in pre-build Grow Box/Tents, you can check out these (Pricey) Worm’s Way Kits. ^TOP
VIEW detailed LED Box Materials / Tools List (PDF)!

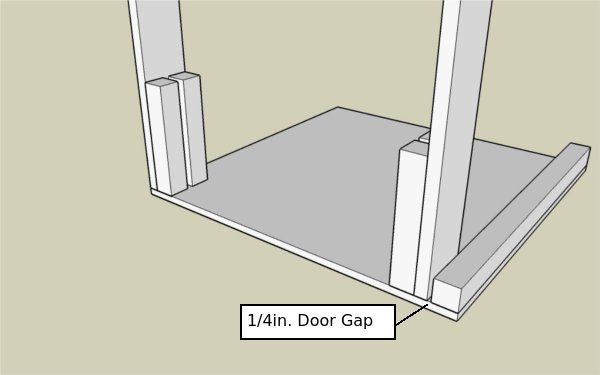
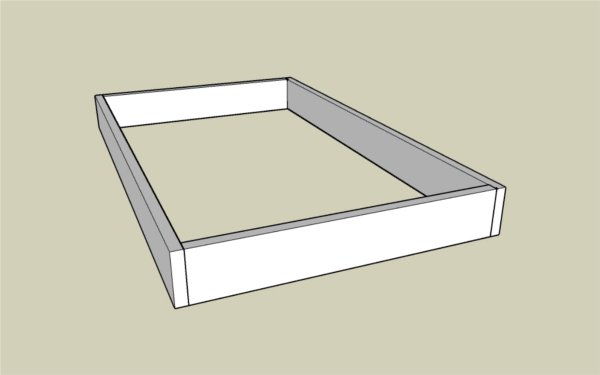
Step 1 – Attach Piece #5 to #6. The edge with the attached #5 will become your Box’s Front End. 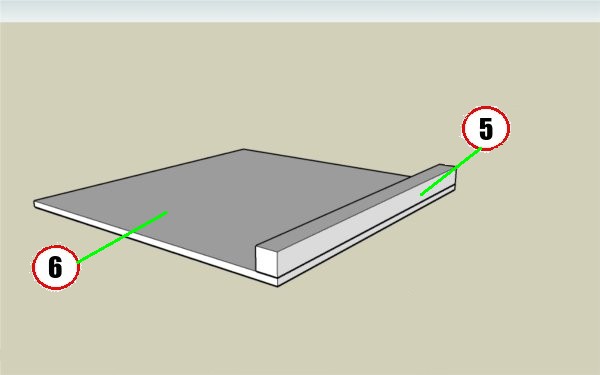
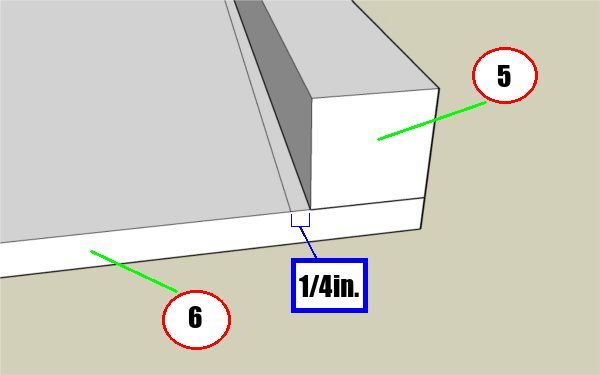
Step 2 – Mark a reference line, 1/4in. from piece #5. This is where your door fit in.
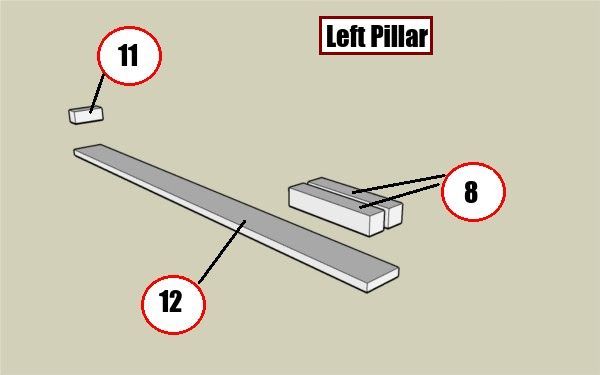
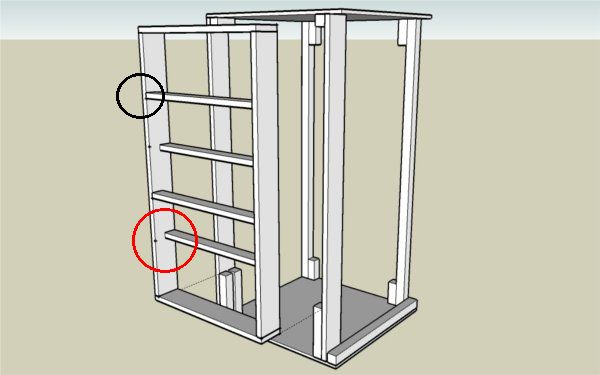
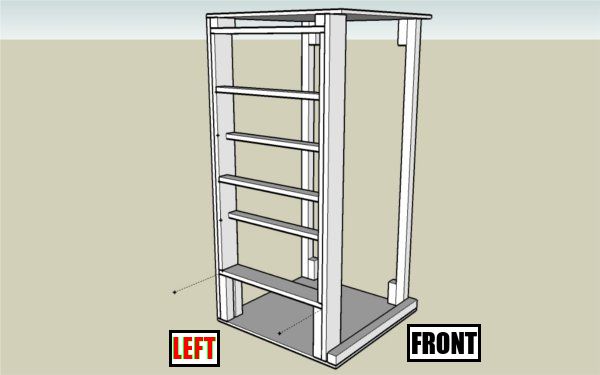
Step 3 – Create Box’s LEFT side support pillars.
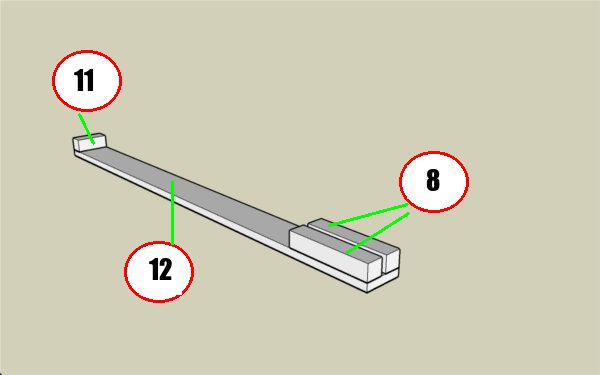
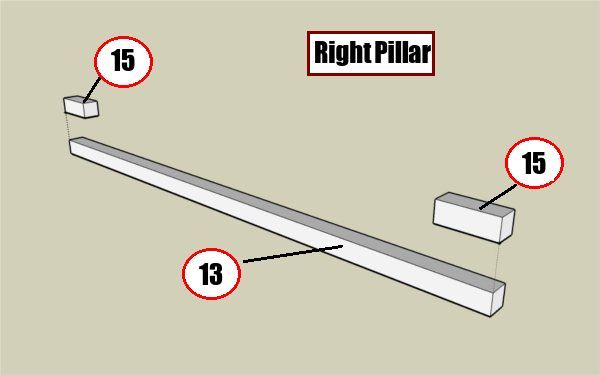
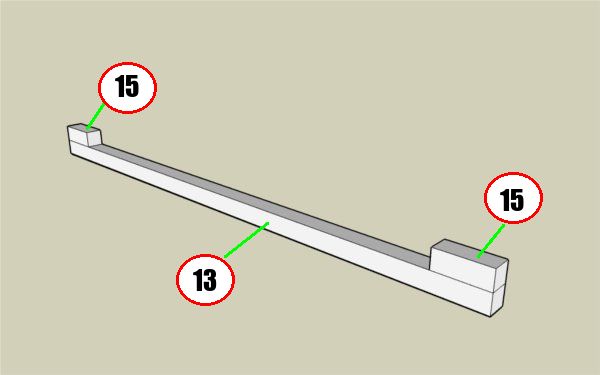
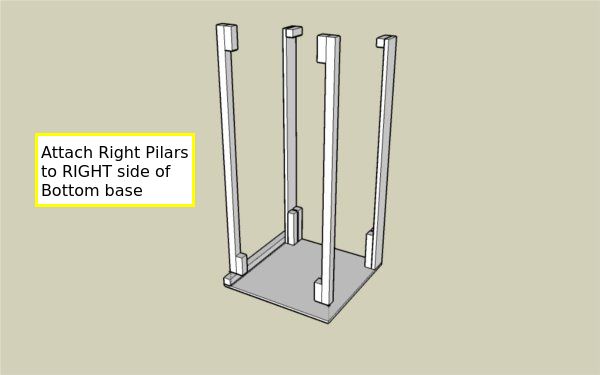
Step 4 – Create Box’s RIGHT side support pillars.
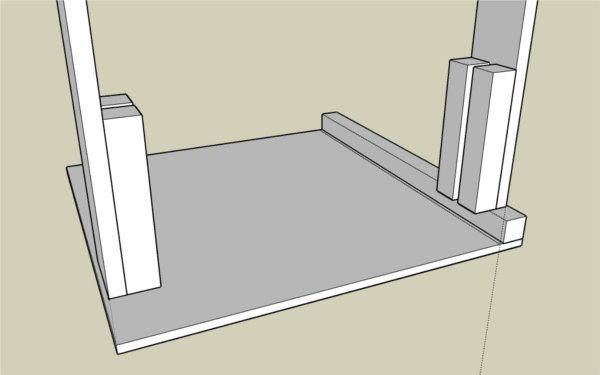
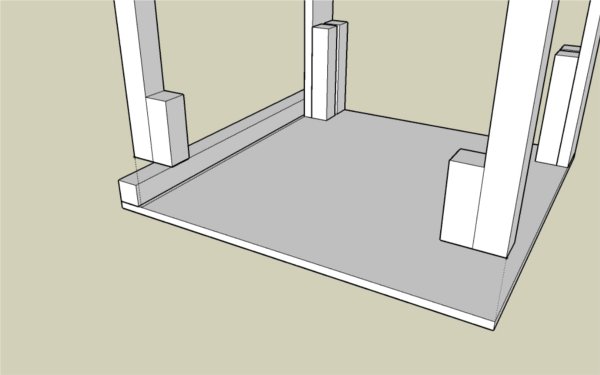
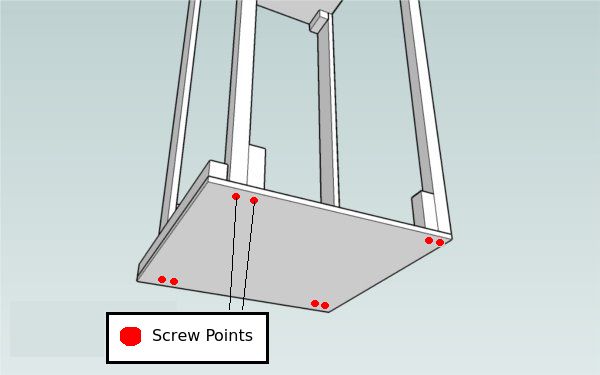
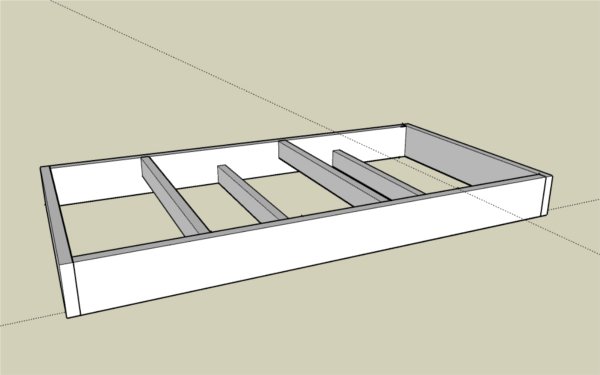
 Step 5 – Attach pillars to Bottom Base piece #6


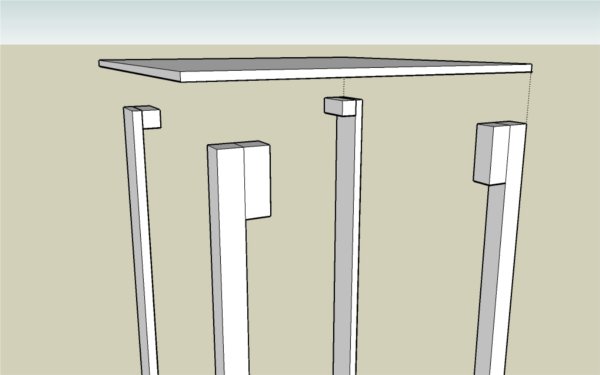
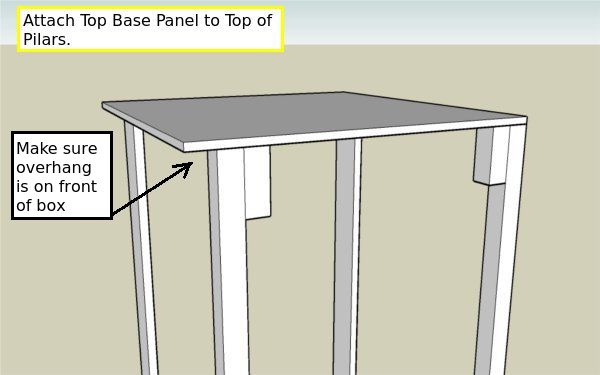
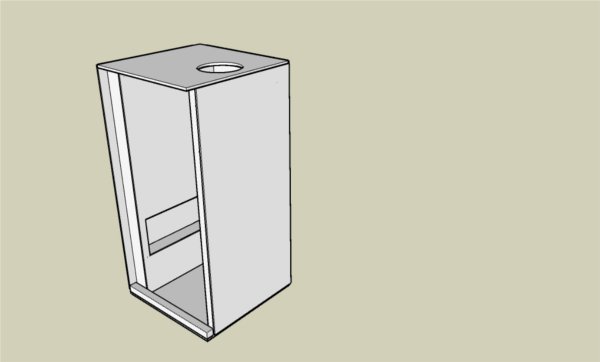
 Step 6 – Attach piece #7 to Top of pillars. ^TOP
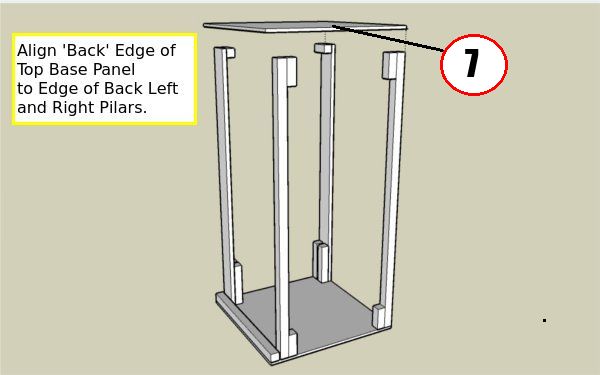
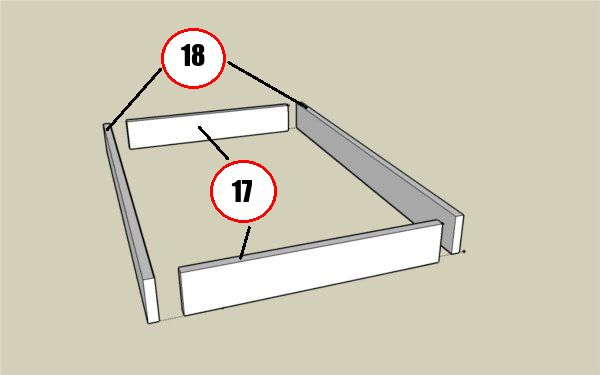
Step 7 – Build Light Trap. Use pieces #18 and #17 first to trap frame. Second, add internal pieces.

Step 8 – Finish light trap (See Video Below) and insert into the Box frame. Make sure your light trap edges match the intake panel on the outside of the Box, and output side on the Box’s inside. ^TOP
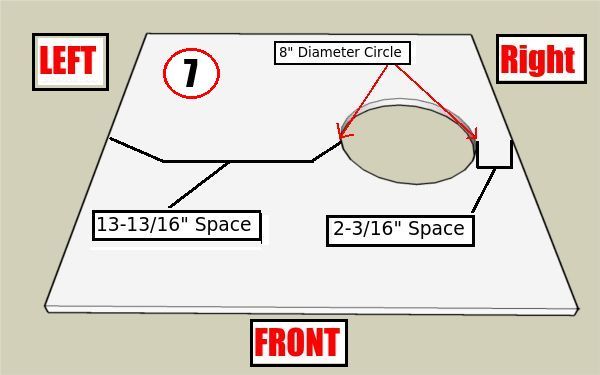
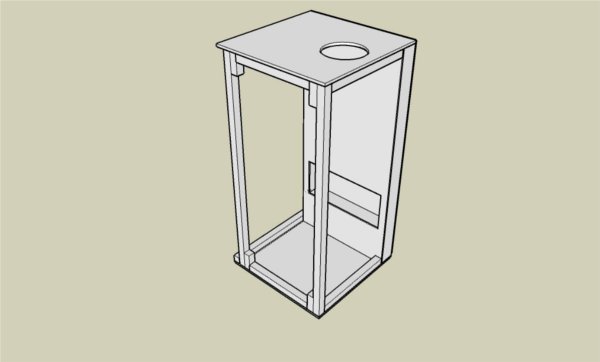
Step 9 – Make 8″ diameter cut into piece #7 and build DIY Carbon Filter.
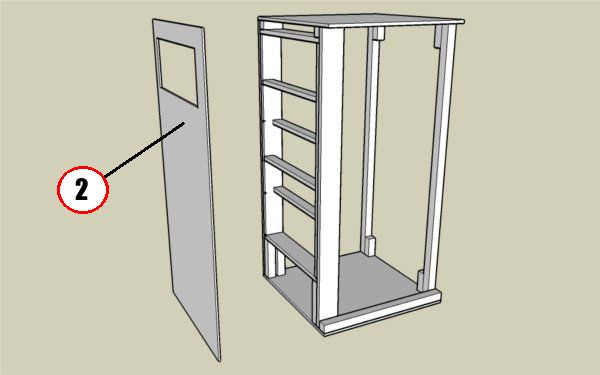
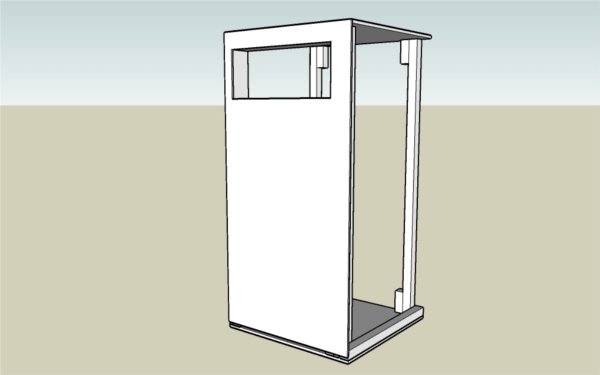
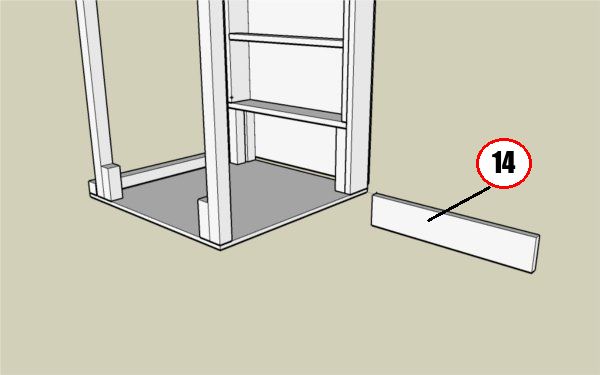
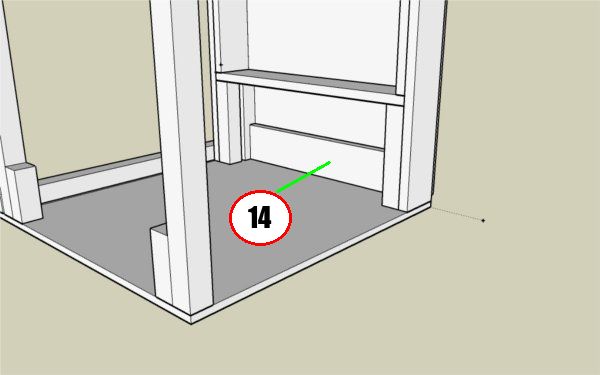
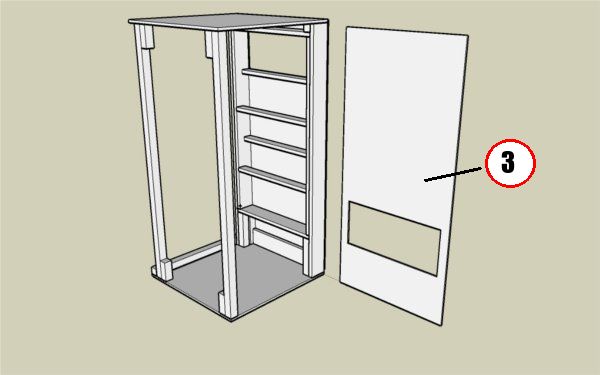
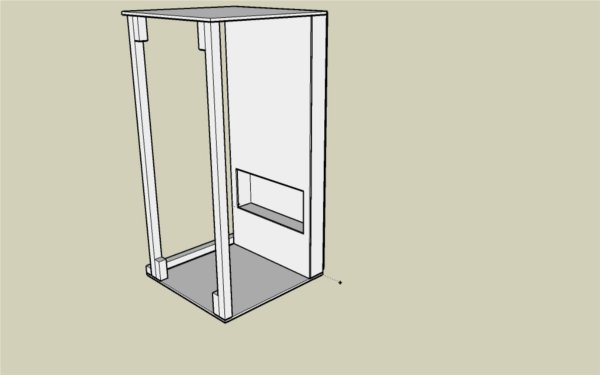
Step 10 – Add siding pieces #2 and #3 to enclose Light Trap. Insert piece #14 to fill bottom space. ^TOP
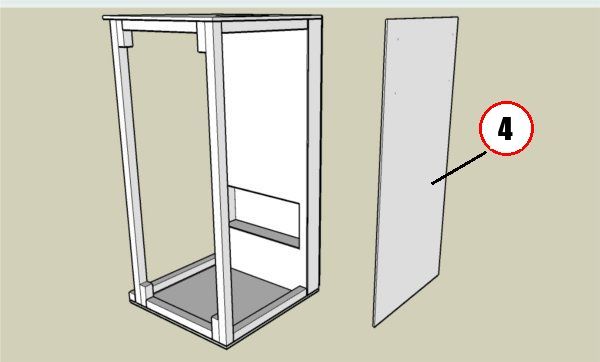
Step 11 – Modify Panel #4 to fit Power Cord
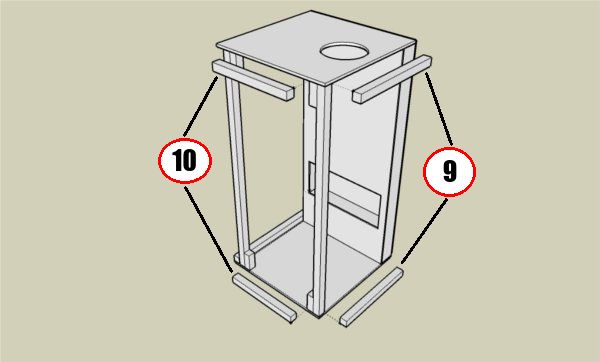
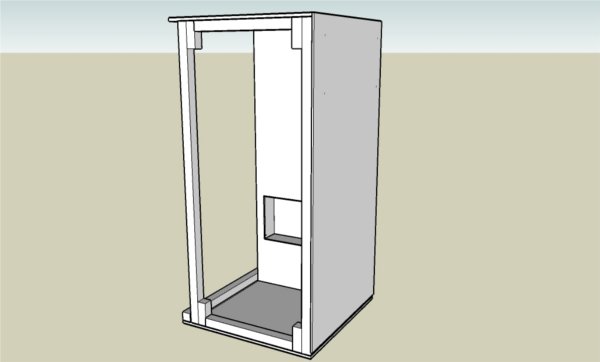
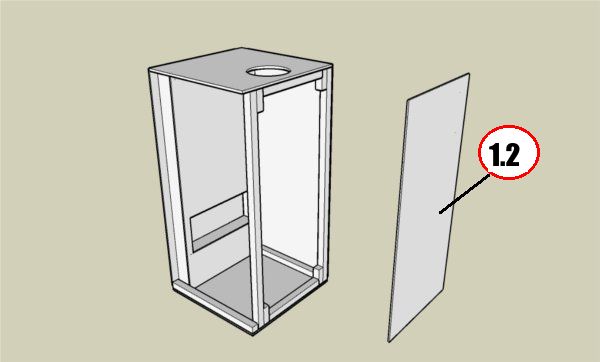
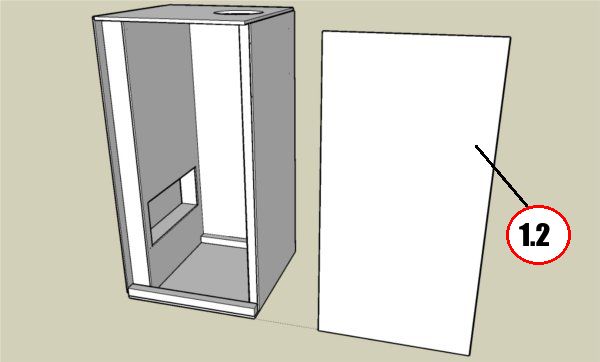
Step 12 – Attach pieces #10 and #9. Then cover Box Back and Right with panel #1.1 and #4. ^TOP
Step 13 – Seal outside Box Edges with heavy duty duct tape. ^TOP
Step 14 – Add wheels ^TOP
Step 15 – Finish and insert door. ^TOP
The best aspect of this Grow Box, to me, is the added carbon filter which scrubbed out any cannabis smell. The carbon filter made the air in the room, in which the box was placed, noticeably fresh smelling. The height of the Grow Box could have been reduced by 6″ to 8″ in. or more. However the added room does give you the option of adding a bigger more powerful light. This Grow Box is definitely not stealth. Its heavy and bulky but the caster wheels make moving the box on flat, hard surfaces easy.
Finally, the door works, but isn’t an ideal solution. I was able to seal the door only by using a lot of heavy duty (Gorilla) duct tape to build up edges and cover any air/light leaks. A future approach to the door may using magnets and panda paper. A new door which isn’t clumsy and easier to seal is needed.
Tweaks
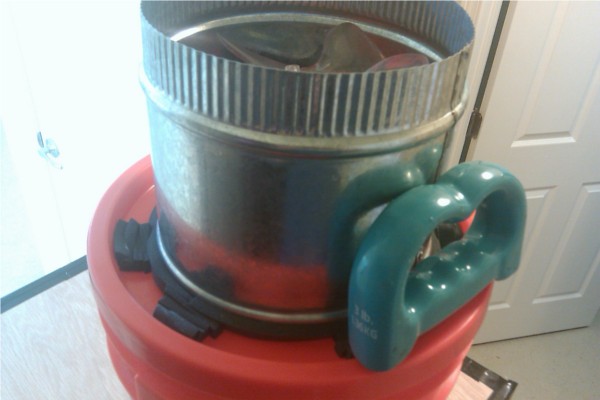 One tweak to the Grow Box I made was to lean a weight against the exhaust fan and add weather stripping around the fans bucket lid base. These steps absorbed the excess vibration caused by the cheap exhaust fan. By the end of the grow the weight seemed to have corrected the exhaust fan’s wobble, and it now runs near silent.
More:
- – SEE This Box Grow the Northern Lights Cannabis Strain
Ready to get SERIOUS about GROWING….
If you want to learn the exact methods for growing killer buds you see online or in magazines, you’re going to want the complete guide to growing marijuana that covers everything, from beginner to ultra-advanced; step by step. Topping and LST are just some of the techniques used to getting those amazing harvests. If you want to learn ALL the secrets…Learn from one of the best guides out there!
Order Growing Elite Marijuana + 6 bonuses (including one-of-a-kind comprehensive strain guide), which is one of the of the most advanced Grow Bible Available…Explained step-by-step… indoors… outdoors… from noob to pro… Monster cropping… advanced growth control… bud production secrets… and much, much more…More than 700 pages of pictures, tutorials and advanced insider tips!

Get Instant Access to It All Right Here: Gamerchronic.com/growing-elite-marijuana


Leave a reply